How to Clean a Kamado Grill (10 Simple Steps)


The Kamado grill is a versatile and popular cooking appliance that requires regular cleaning to ensure optimal performance and longevity.
In this blog post, we will guide you through the step-by-step process of how to clean a Kamado grill effectively.
From removing ash buildup to scrubbing the grill grates, we will provide you with expert tips and techniques to keep your Kamado grill in pristine condition.
Let’s get started.
Step-by-Step Process of How to Clean a Kamado Grill
Cleaning a Kamado grill is an important part of its maintenance to ensure optimal performance and longevity. Here is a step-by-step guide on how to clean a Kamado grill, along with the necessary equipment:
Equipment needed:
- Grill brush or scraper
- Soft-bristle brush or sponge
- Mild dish soap
- Warm water
- Spray bottle
- Microfiber cloth or towel
- Rubber gloves (optional)
Now, let’s proceed with the step-by-step process:
Step 1: Safety precautions
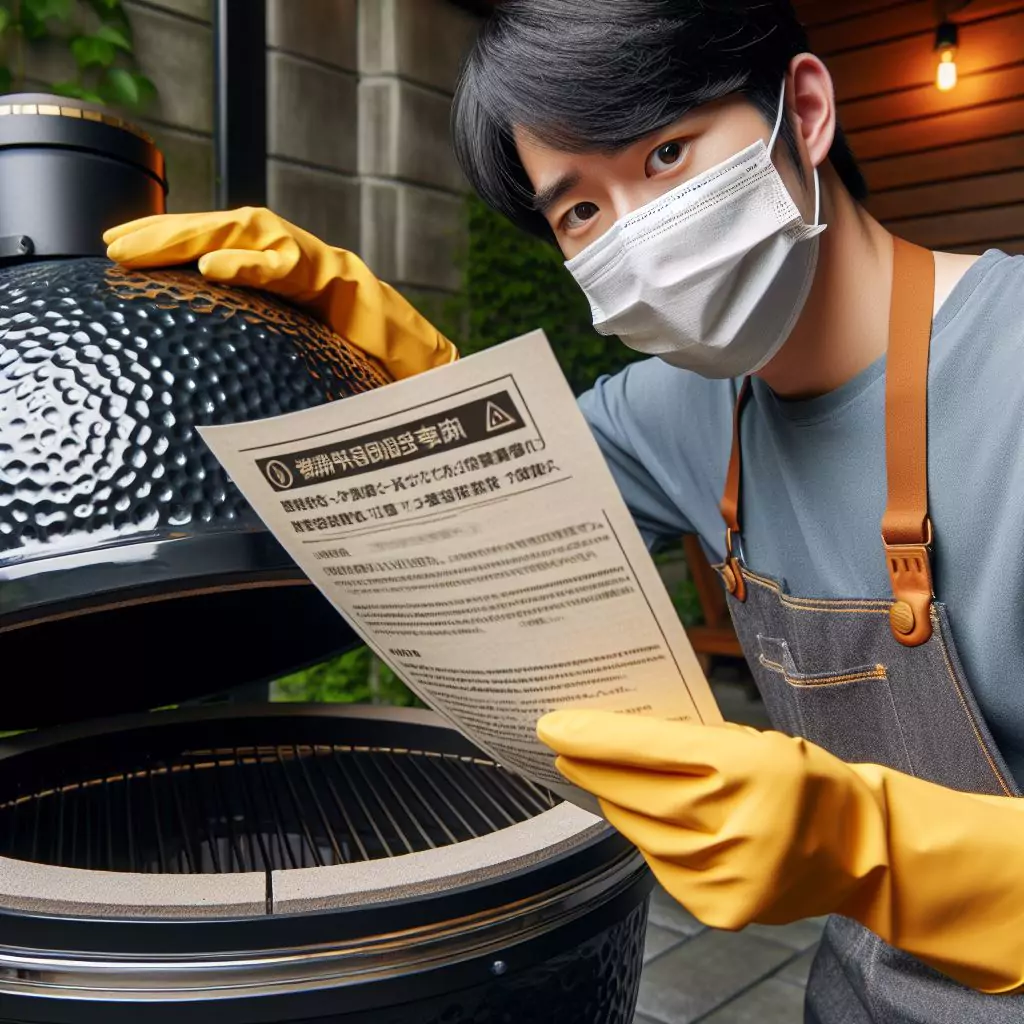
Your safety is paramount, so ensure the grill is completely cool before you start cleaning. This will prevent any burns or accidents.
If you plan to use a cleaning agent or soap, take a moment to read the manufacturer’s instructions and warnings to ensure it is safe to use on the specific materials of your Kamado grill.
Step 2: Remove the ashes
To begin cleaning, open the vents and remove the cooking grates, deflector plates, and any other accessories from the grill.
Use a grill brush or scraper to gently remove any loose ashes or debris from the firebox and ash drawer. Collect and dispose of the ashes in a non-combustible container.
Step 3: Clean the interior

To make a cleaning solution, mix mild dish soap with warm water in either a bucket or a spray bottle. Use a ratio of approximately 1 tablespoon of soap per quart of water.
If desired, put on rubber gloves to protect your hands. Dip a soft-bristle brush or sponge into the soapy water and scrub the interior surfaces of the grill, including the firebox, walls, and ceramic parts.
Pay close attention to any built-up grease or residue. Use the grill brush or scraper for stubborn residue or debris, but be gentle to avoid scratching or damaging the grill’s surfaces.
Rinse the interior thoroughly with clean water to remove any soap residue. You can use a spray bottle or a damp cloth for this step.
Finally, wipe the interior dry with a microfiber cloth or towel.
Step 4: Clean the cooking grates and accessories
To clean the cooking grates, deflector plates, and other accessories, soak them in warm, soapy water for about 15-30 minutes. This will help loosen any grease or food residue.
After soaking, scrub the grates and accessories with a soft-bristle brush or sponge to remove any remaining debris.
Make sure to rinse the items with clean water and dry them completely before putting them back on the grill.
Step 5: Clean the exterior
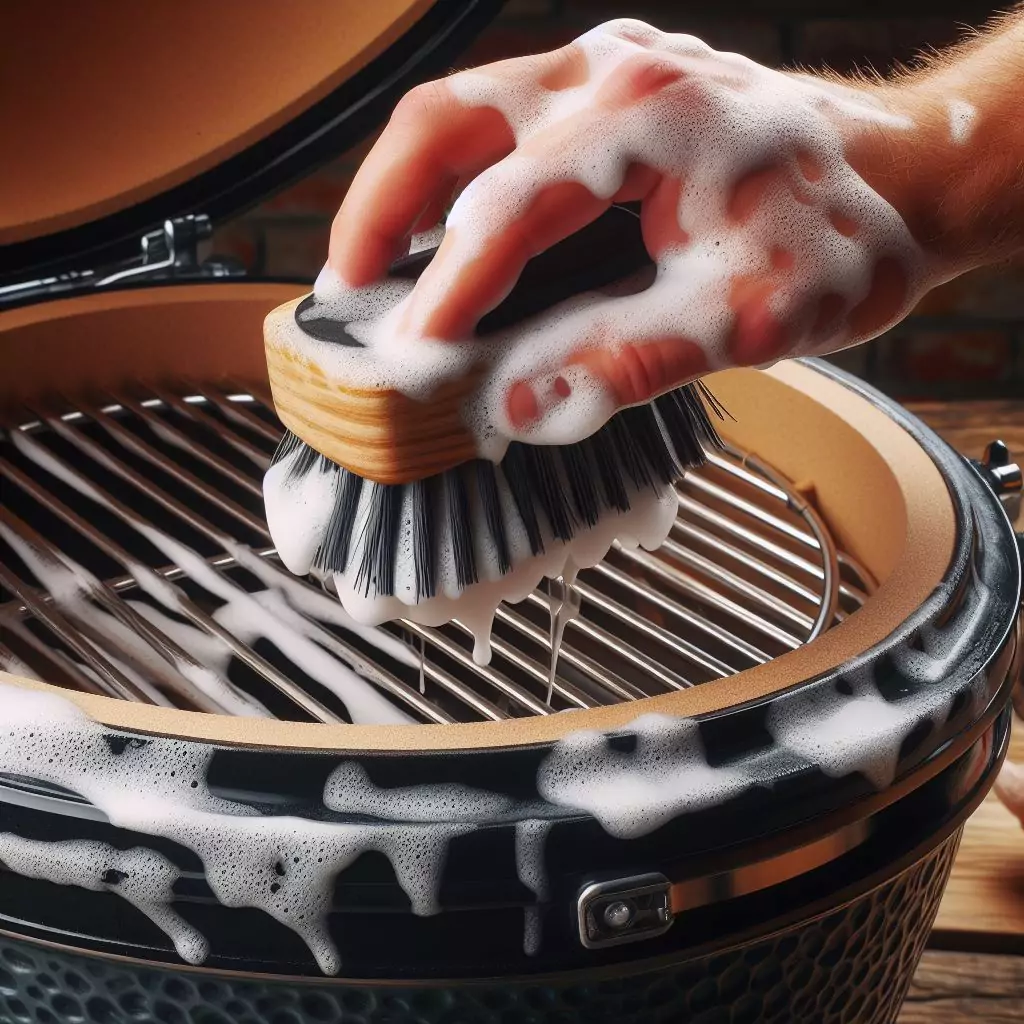
Mix a mild soap solution using warm water and dish soap in a spray bottle. Spray the exterior surfaces of the grill with soapy water, covering all areas.
Gently scrub the exterior with a soft-bristle brush or sponge to remove any dirt, grease, or stains. Rinse the exterior with clean water to remove any soap residue.
To finish, dry the exterior with a microfiber cloth or towel, leaving the grill looking clean and shiny.
Step 6: Clean the gasket
Inspect the gasket around the grill’s lid for any signs of wear or damage. If you notice any issues, consult the manufacturer’s instructions for replacing the gasket.
If the gasket is in good condition, use a damp cloth to wipe it clean. Avoid using abrasive cleaners or brushes that could damage the gasket’s integrity.
Step 7: Reassemble the grill
Once all the components are clean and dry, reassemble the grill by placing the cooking grates, deflector plates, and any other accessories back in their respective positions.
Step 8: Check the vents
Inspect the vents and ensure they are clean and unobstructed. Remove any buildup or debris that may hinder proper airflow.
Step 9: Season the grates (optional)
If you want to avoid rust and improve the non-stick properties, you can apply a thin coat of cooking oil to the grates. Heat the grill to a high temperature for about 15 minutes to let the oil bond to the grates.
Step 10: Store the grill
If you’re not planning to use the grill immediately, cover it with a fitted grill cover to protect it from the elements.
How to Clean a Rusty Kamado Grill
Cleaning a rusty Kamado grill is essential to maintain its functionality and extend its lifespan. Rust can be detrimental to the grill’s performance and safety. Follow this definitive guide on how to clean a rusty Kamado grill:
Materials You’ll Need:
- Wire brush
- Sandpaper (medium and fine grit)
- Steel wool pads
- Scrubbing sponge or cloth
- Bucket of soapy water
- White vinegar
- Baking soda
- Vegetable oil or cooking spray
- Rust converter (optional)
- High-temperature paint (for re-painting, if necessary)
- Latex or nitrile gloves
- Safety goggles
Step-by-Step Guide:
1. Safety First
Always wear gloves and safety goggles when working with rusty surfaces and cleaning agents to protect your hands and eyes.
2. Prepare the Grill
Remove all grates, cooking grills, and any other removable parts from your Kamado grill.
3. Wire Brushing
Use a wire brush to remove loose rust and debris from the grill’s surface. This will make it easier to see the extent of the rust problem and prepare it for a more thorough cleaning.
4. Sandpaper and Steel Wool
Start with medium-grit sandpaper to gently remove rust from the grill’s surface. If the rust is deeply ingrained, switch to fine-grit sandpaper or steel wool to continue the process.
Sand in the direction of the grain or texture to avoid scratching the surface.
5. Soapy Water
Fill a bucket with warm, soapy water and use a scrubbing sponge or cloth to thoroughly clean the grill.
This will help remove any remaining rust particles and general dirt and grime. Rinse with clean water and let it dry.
6. White Vinegar and Baking Soda
If there are still rust stains, make a paste by mixing white vinegar and baking soda. Apply the paste to the rusted areas and let it sit for 15-20 minutes. Scrub with a brush or steel wool. The acid in vinegar can help break down rust.
7. Rust Converter (Optional)
If you have significant rust, consider using a rust converter. Apply it according to the manufacturer’s instructions.
A rust converter will chemically transform rust into a more stable surface, which can be painted over if necessary.
8. Re-Painting (if needed)
If the rust has damaged the grill’s paint or if you’ve used a rust converter, you may need to repaint the affected areas with high-temperature paint. Make sure to use paint designed for grills and follow the instructions on the paint can.
9. Reassemble and Season
Once the grill is clean and dry, reassemble the parts you removed earlier. Light a fire and allow it to burn for 20-30 minutes to season the grill. This will help to create a protective layer on the interior surfaces.
10. Regular Maintenance
To prevent future rust, keep your Kamado grill clean and dry when not in use. Cover it with a waterproof cover, and regularly inspect for any signs of rust, addressing them promptly
Maintenance Tips for the Longevity of Your Kamado Grill
To maximize the longevity of your Kamado grill, here are some additional maintenance tips to keep in mind:
Season your grill
Seasoning the interior surfaces is beneficial when you first acquire a new Kamado grill or after a thorough cleaning.
This involves coating the grill’s walls, firebox, and cooking grates with a thin layer of cooking oil.
Seasoning helps prevent rust and creates a non-stick surface, enhancing the flavor and longevity of your grill.
Protect it from the elements
Kamado grills are designed to withstand outdoor conditions, but extended exposure to rain, snow, or extreme heat can degrade their components over time.
When you are not using your grill, it is important to either store it in a covered area or use a grill cover to protect it from the elements.
Regularly clean the ash drawer
Ash buildup in the drawer can hinder airflow and affect the grill’s performance. Clean the ash drawer after each use or whenever necessary. Please dispose of the ashes properly, ensuring they are fully extinguished.
Inspect and clean the vents
The vents on your Kamado grill are crucial in controlling airflow and temperature.
Periodically inspect the vents for any obstructions or buildup of ash or debris. Clean them gently using a brush or cloth to maintain proper ventilation.
Check and replace gaskets as needed
The gasket around the grill’s lid creates a tight seal to maintain temperature control.
Over time, the gasket may wear out or become damaged. Regularly inspect the gasket and replace it if you notice any gaps or deterioration.
Follow the manufacturer’s instructions for gasket replacement.
Use high-quality lump charcoal
Kamado grills perform best with high-quality lump charcoal. Avoid using briquettes or low-quality charcoal, as they may produce excessive ash or contain fillers that can affect the flavor of your food.
Opt for natural lump charcoal, which burns cleaner and provides better heat retention.
Avoid using harsh chemicals
Avoid using harsh chemicals, abrasive cleaners, or wire brushes that can damage the grill’s surfaces when cleaning your Kamado grill.
Stick to mild dish soap, warm water, and soft-bristle brushes or sponges. Refer to your grill’s user manual for specific cleaning recommendations.
Perform regular inspections
Regularly inspect your Kamado grill for any signs of wear, loose parts, or damage.
Check the hinges, handles, and seals to ensure they are in good condition. It is important to take action immediately to prevent further harm and maintain safety while operating. Please address any issues promptly.
FAQs
How often should I clean my Kamado grill?
It’s recommended to clean your Kamado grill after every few uses, especially if there is significant grease or food residue. Regular cleaning helps maintain the grill’s performance and prevents buildup that can affect the flavor of your food.
Can I use any oven cleaner to clean my Kamado grill?
It’s not advisable to apply oven cleaner on a Kamado grill. Such cleaners contain harsh chemicals that might harm the surfaces of the grill and leave behind unwanted residue. It’s best to use mild dish soap, warm water, and non-abrasive cleaning techniques for optimal results.
Can I pressure wash my Kamado grill?
It’s generally not recommended to pressure wash a Kamado grill. The high-pressure water can damage the grill’s delicate ceramic surfaces and seals. Stick to manual cleaning methods using gentle brushes, sponges, and cloths.
Can I use a wire brush to clean the interior of my Kamado grill?
It is generally not recommended to use wire brushes on the interior surfaces of a Kamado grill, especially if they are ceramic. Wire brushes can scratch or damage the surfaces. Instead, use soft-bristle brushes or sponges to clean the interior.
Wrap Up
It’s crucial to master the art of cleaning a Kamado grill to maintain its longevity and ensure it performs optimally.
By following the step-by-step guide in this article, you can maintain a clean and well-functioning grill, ready to create delicious culinary delights for years to come.
Remember to regularly clean the exterior, interior, and accessories while paying attention to safety precautions.
With proper care and maintenance, your Kamado grill will continue to be the centerpiece of your outdoor cooking adventures.
Happy grilling!

