How to Tighten a Kitchen Faucet Like an Expert (DIY Guide)

It’s no secret that plumbing issues can cause much damage in any home, but some issues can be intimidating to most people.
Most homeowners have some faucet problem which can be a nuisance in the initial stages, but it could damage lines as it gets worse and must therefore be fixed as soon as possible.
When kitchen faucets are used frequently, they can become loose and sometimes burst, causing water to overflow in the kitchen sink.
In this article, we will cover a complete DIY guide on how to tighten a loose kitchen faucet.
Let’s begin.
How to Tighten a Loose Kitchen Faucet Base
Tightening a loose kitchen faucet base involves securing the faucet to the sink to eliminate wobbling or movement. Here’s a step-by-step guide to help you with this process:
Materials and Tools:
- Adjustable wrench
- Plumber’s tape (optional)
- Plumber’s putty (optional)
Step 1: Turn Off the Water Supply
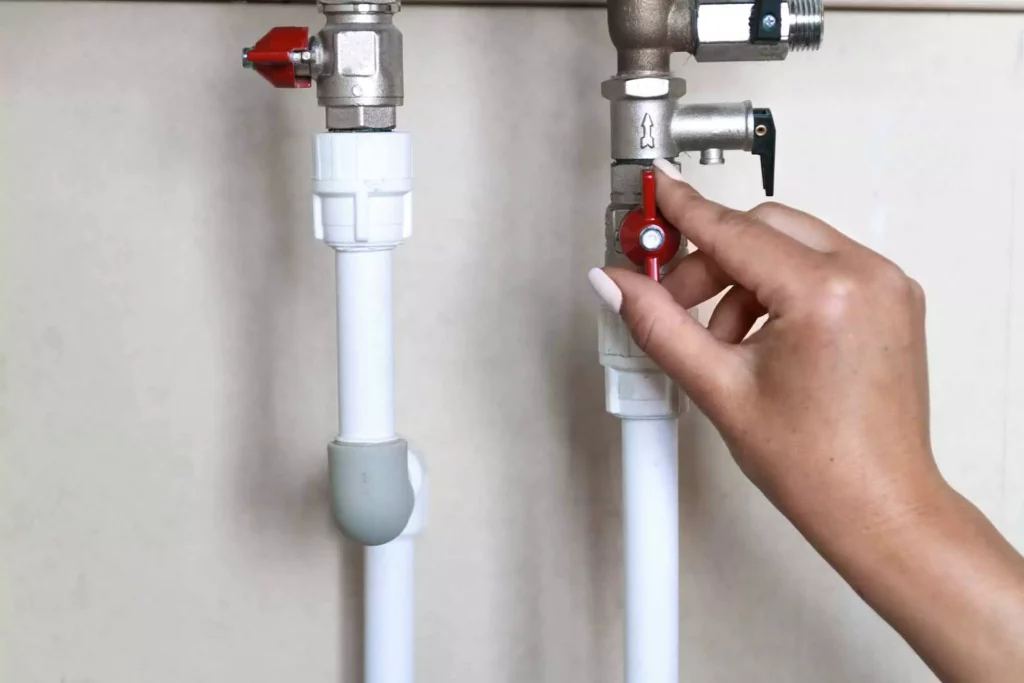
Before you begin, turn off the water supply to the kitchen faucet. Locate the shut-off valves beneath the sink and turn them clockwise to shut off the water.
Step 2: Access the Underside of the Sink

To tighten the base, you’ll need to access the underside of the sink. Use a flashlight to get a clear view of the faucet’s mounting nuts and connections.
Step 3: Identify the Mounting Nuts
Look for the mounting nuts that secure the faucet to the sink. These nuts are typically located on threaded studs protruding from the faucet’s base.
Step 4: Use an Adjustable Wrench
Take an adjustable wrench and use it to tighten the mounting nuts. Turn the nuts clockwise until they are snug against the underside of the sink. Be careful not to overtighten, as this could damage the faucet or sink.
Step 5: Check for Other Loose Connections
Inspect other connections, such as supply lines and any additional hardware. Tighten any loose connections using the adjustable wrench.
Step 6: Apply Plumber’s Tape (if necessary)
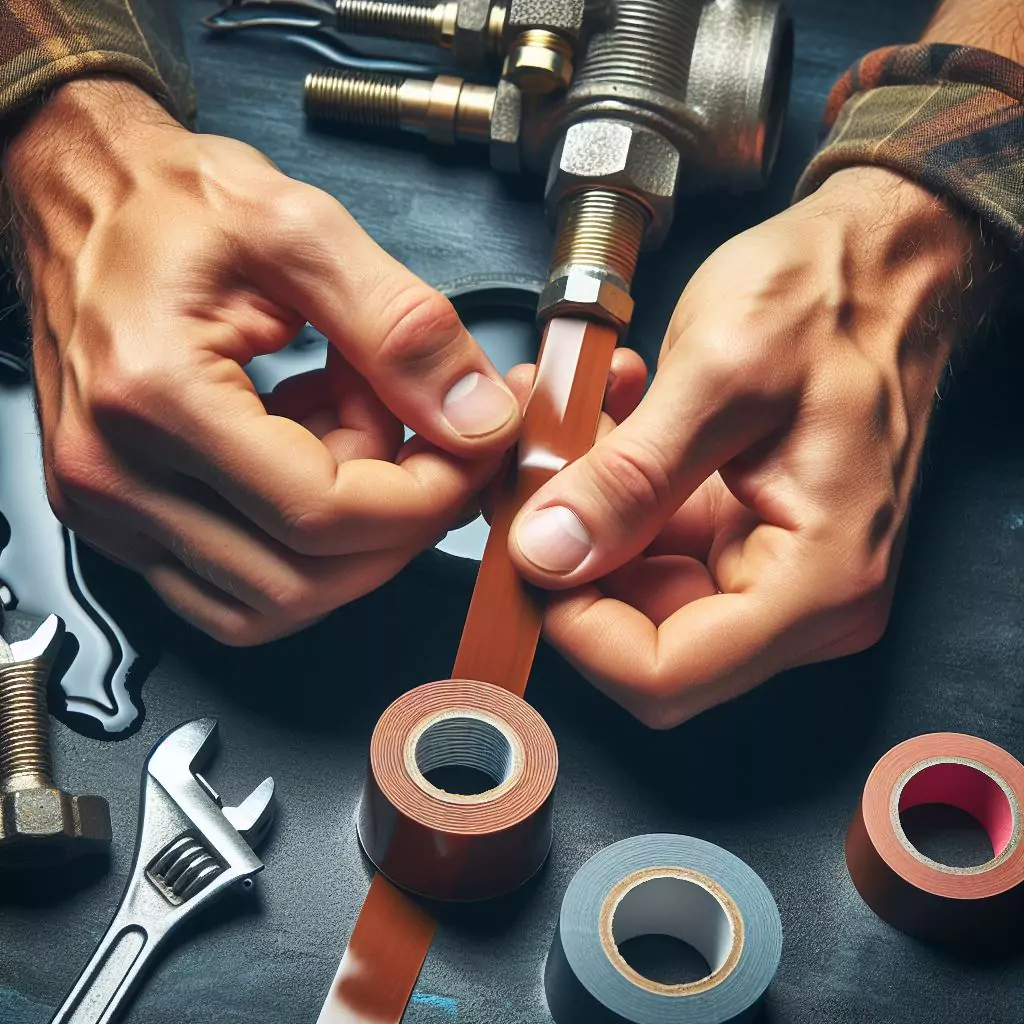
If you notice any leaks around threaded connections, apply the plumber’s tape to create a watertight seal. Wrap the tape clockwise around the threads before reattaching the components.
Step 7: Apply Plumber’s Putty (if necessary)
For faucets with a base that sits on the sink, you may need to apply a plumber’s putty to create a seal between the faucet and the sink. Follow the manufacturer’s instructions for applying and using the plumber’s putty.
Step 8: Turn On the Water Supply
Once you’ve tightened all the connections, turn the water supply back on. Check for any leaks, and if necessary, go back and tighten connections further.
Step 9: Test the Faucet Base
Turn on the faucet and check for any wobbling or movement. Ensure that the faucet base is secure and stable.
Step 10: Make Final Adjustments
If needed, make final adjustments to ensure everything is secure and functioning correctly. Double-check all connections and tighten them as necessary.
How to Tighten a Loose Kitchen Faucet Handle
Tightening a loose kitchen faucet handle is a common issue and can usually be addressed with a few simple steps. Here’s a guide to help you tighten a loose kitchen faucet handle:
Materials and Tools:
- Adjustable wrench
- Screwdriver (Phillips or flathead, depending on the type of screw)
- Allen wrench (if applicable)
- Plumber’s tape (optional)
Step 1: Identify the Type of Faucet Handle
Different faucet handles have different mechanisms for attachment. Identify whether your faucet handle is secured with a screw, a set screw, or another type of fastening mechanism.
Step 2: Turn Off the Water Supply
Before starting any work, turn off the water supply to the kitchen faucet. Locate and turn the shut-off valves beneath the sink in a clockwise direction.
Step 3: Remove the Handle
If there is a decorative cap covering the screw or setscrew, use a flathead screwdriver to carefully pry it off.
Once exposed, use an appropriate tool to remove the screw or setscrew that is holding the handle in place.
Step 4: Inspect the Handle Mechanism
Examine the inside of the handle for any visible issues, such as worn-out threads or components. If there are any damaged parts, you may need to replace them.
Step 5: Tighten the Fastening Mechanism
If the handle is attached with a screw or set screw, use the appropriate tool to tighten it.
Turn the screw or setscrew clockwise until snug. Be careful not to overtighten, as this could cause damage.
Step 6: Apply Plumber’s Tape (if necessary)
If the handle attaches to a threaded spindle, you can apply a plumber’s tape to the threads to create a better seal. Wrap the tape clockwise around the threads.
Step 7: Reattach the Handle
Once the fastening mechanism is tightened, reattach the handle by reversing the steps you took to remove it. If there’s a decorative cap, press it back into place.
Step 8: Turn On the Water Supply
Turn the water supply back on by turning the shut-off valves beneath the sink counterclockwise. Check for any leaks around the handle.
Step 9: Test the Faucet Handle
Turn the faucet handle to ensure it’s securely attached and doesn’t wobble.
If there’s still some play, you may need to repeat the tightening process or inspect for any other issues.
Tips for Maintaining a Tight Kitchen Faucet
Maintaining a tight kitchen faucet involves regular inspection, proper use, and prompt addressing of any issues that arise. Here are some tips for maintaining a tight kitchen faucet:
1. Regular Inspection
Periodically check your kitchen faucet for any signs of looseness, wobbling, or leaks. Catching problems early can prevent them from escalating.
2. Proper Installation
Ensure your kitchen faucet is initially installed correctly. Follow the manufacturer’s installation instructions or hire a professional plumber to do the job. A well-installed faucet is less likely to develop issues.
3. Tighten Loose Connections
If you notice any part of the faucet becoming loose, such as handles, base, or connections, use the appropriate tools to tighten them immediately. This can prevent further damage and ensure the faucet remains stable.
4. Turn Off the Water Supply
Before attempting any maintenance or repairs on your kitchen faucet, always turn off the water supply. This prevents accidental water leaks and ensures a safe working environment.
5. Address Leaks Promptly
If you notice any leaks, address them promptly. Leaks can lead to water damage and may cause components to loosen over time. Identify the source of the leak and tighten or replace the necessary parts.
6. Use Plumber’s Tape
Consider using plumber’s tape on threaded connections during installation or maintenance. Plumber’s tape creates a watertight seal and helps prevent leaks from developing.
7. Avoid Overtightening
While it’s important to tighten loose components, avoid overtightening, as this can damage the faucet or its connections. Follow the manufacturer’s recommendations for torque specifications if provided.
8. Clean the Faucet Regularly
Regular cleaning helps prevent the buildup of mineral deposits, soap scum, and other debris that can affect the faucet’s performance. Use a mild cleaner and a soft cloth to clean the faucet surfaces.
9. Check for Sediment Buildup
In areas with hard water, sediment buildup can occur in the aerator or other components.
Periodically remove the aerator and clean it to maintain water flow and prevent strain on the faucet.
10. Replace Worn-Out Parts
Over time, components such as seals, O-rings, and washers may wear out. If you notice persistent issues or leaks, consider replacing these parts. Refer to the faucet’s manual or contact the manufacturer for guidance.
11. Be Gentle with Handles
Use gentle force when operating faucet handles. Avoid slamming or forcing handles, as this can contribute to wear and looseness over time.
12. Schedule Professional Maintenance
If you’re unsure about any maintenance tasks or encounter persistent issues, consider scheduling professional maintenance. A plumber can inspect and address any underlying problems to keep your kitchen faucet in optimal condition.
FAQs
Why is my kitchen faucet loose?
A loose kitchen faucet can be caused by regular wear and tear, improper installation, or loosening of the mounting nuts over time. Identifying the cause is crucial in determining the appropriate tightening method.
Can I tighten a kitchen faucet without turning off the water supply?
It is recommended to turn off the water supply before attempting to tighten a kitchen faucet. This helps prevent water leaks and ensures a safe working environment.
How tight should I make the mounting nuts?
Tighten the mounting nuts snugly, but avoid overtightening, as it could damage the faucet or sink. Follow the manufacturer’s recommendations for torque specifications if available.
My faucet has a setscrew. How do I tighten it?
Remove the decorative cap, locate the setscrew, and use an appropriate screwdriver or Allen wrench to tighten it. Be cautious not to overtighten, as it may strip the threads.
What should I do if my kitchen faucet continues to leak after tightening?
If leaks persist, check for damaged components, worn-out seals, or other issues. It might be necessary to replace faulty parts or seek professional assistance.
Do I need a professional plumber to tighten my kitchen faucet?
In most cases, you should be able to tighten a loose kitchen faucet handle or base on your own using the steps I provided above. Tightening a faucet is a relatively simple task that can be completed with just a few basic tools, such as a screwdriver or a basin wrench.
Wrap Up
Maintaining a secure and functional kitchen faucet is a simple yet essential aspect of household care.
By following the steps outlined in this guide, you can easily address a loose kitchen faucet, ensuring stability and preventing potential issues.
Regular checks, proper installation, and prompt tightening of loose components contribute to a smoothly operating faucet, enhancing the overall efficiency of your kitchen.
Remember, a little maintenance goes a long way in keeping your kitchen fixtures reliable and long-lasting.
Editor’s Note:
As seasoned editors at Guyos Guide, we bring you a comprehensive DIY guide on tightening kitchen faucets, showcasing our expertise in plumbing solutions. Trust our step-by-step instructions for a secure and enduring kitchen fixture.