How to Clean and Descale a Kettle Effectively Like a Pro
Are you tired of dealing with limescale buildup in your kettle? Does the taste of your tea or coffee suffer because of it? Well, worry no more!
In this article, we will guide you on cleaning and descaling your kettle effectively, ensuring its optimal performance and prolonging its lifespan.
Get ready to rejuvenate your kettle and enjoy a better-tasting hot beverage experience.
Let’s dive in!
Steps on How to Clean and Descale a Kettle Effectively
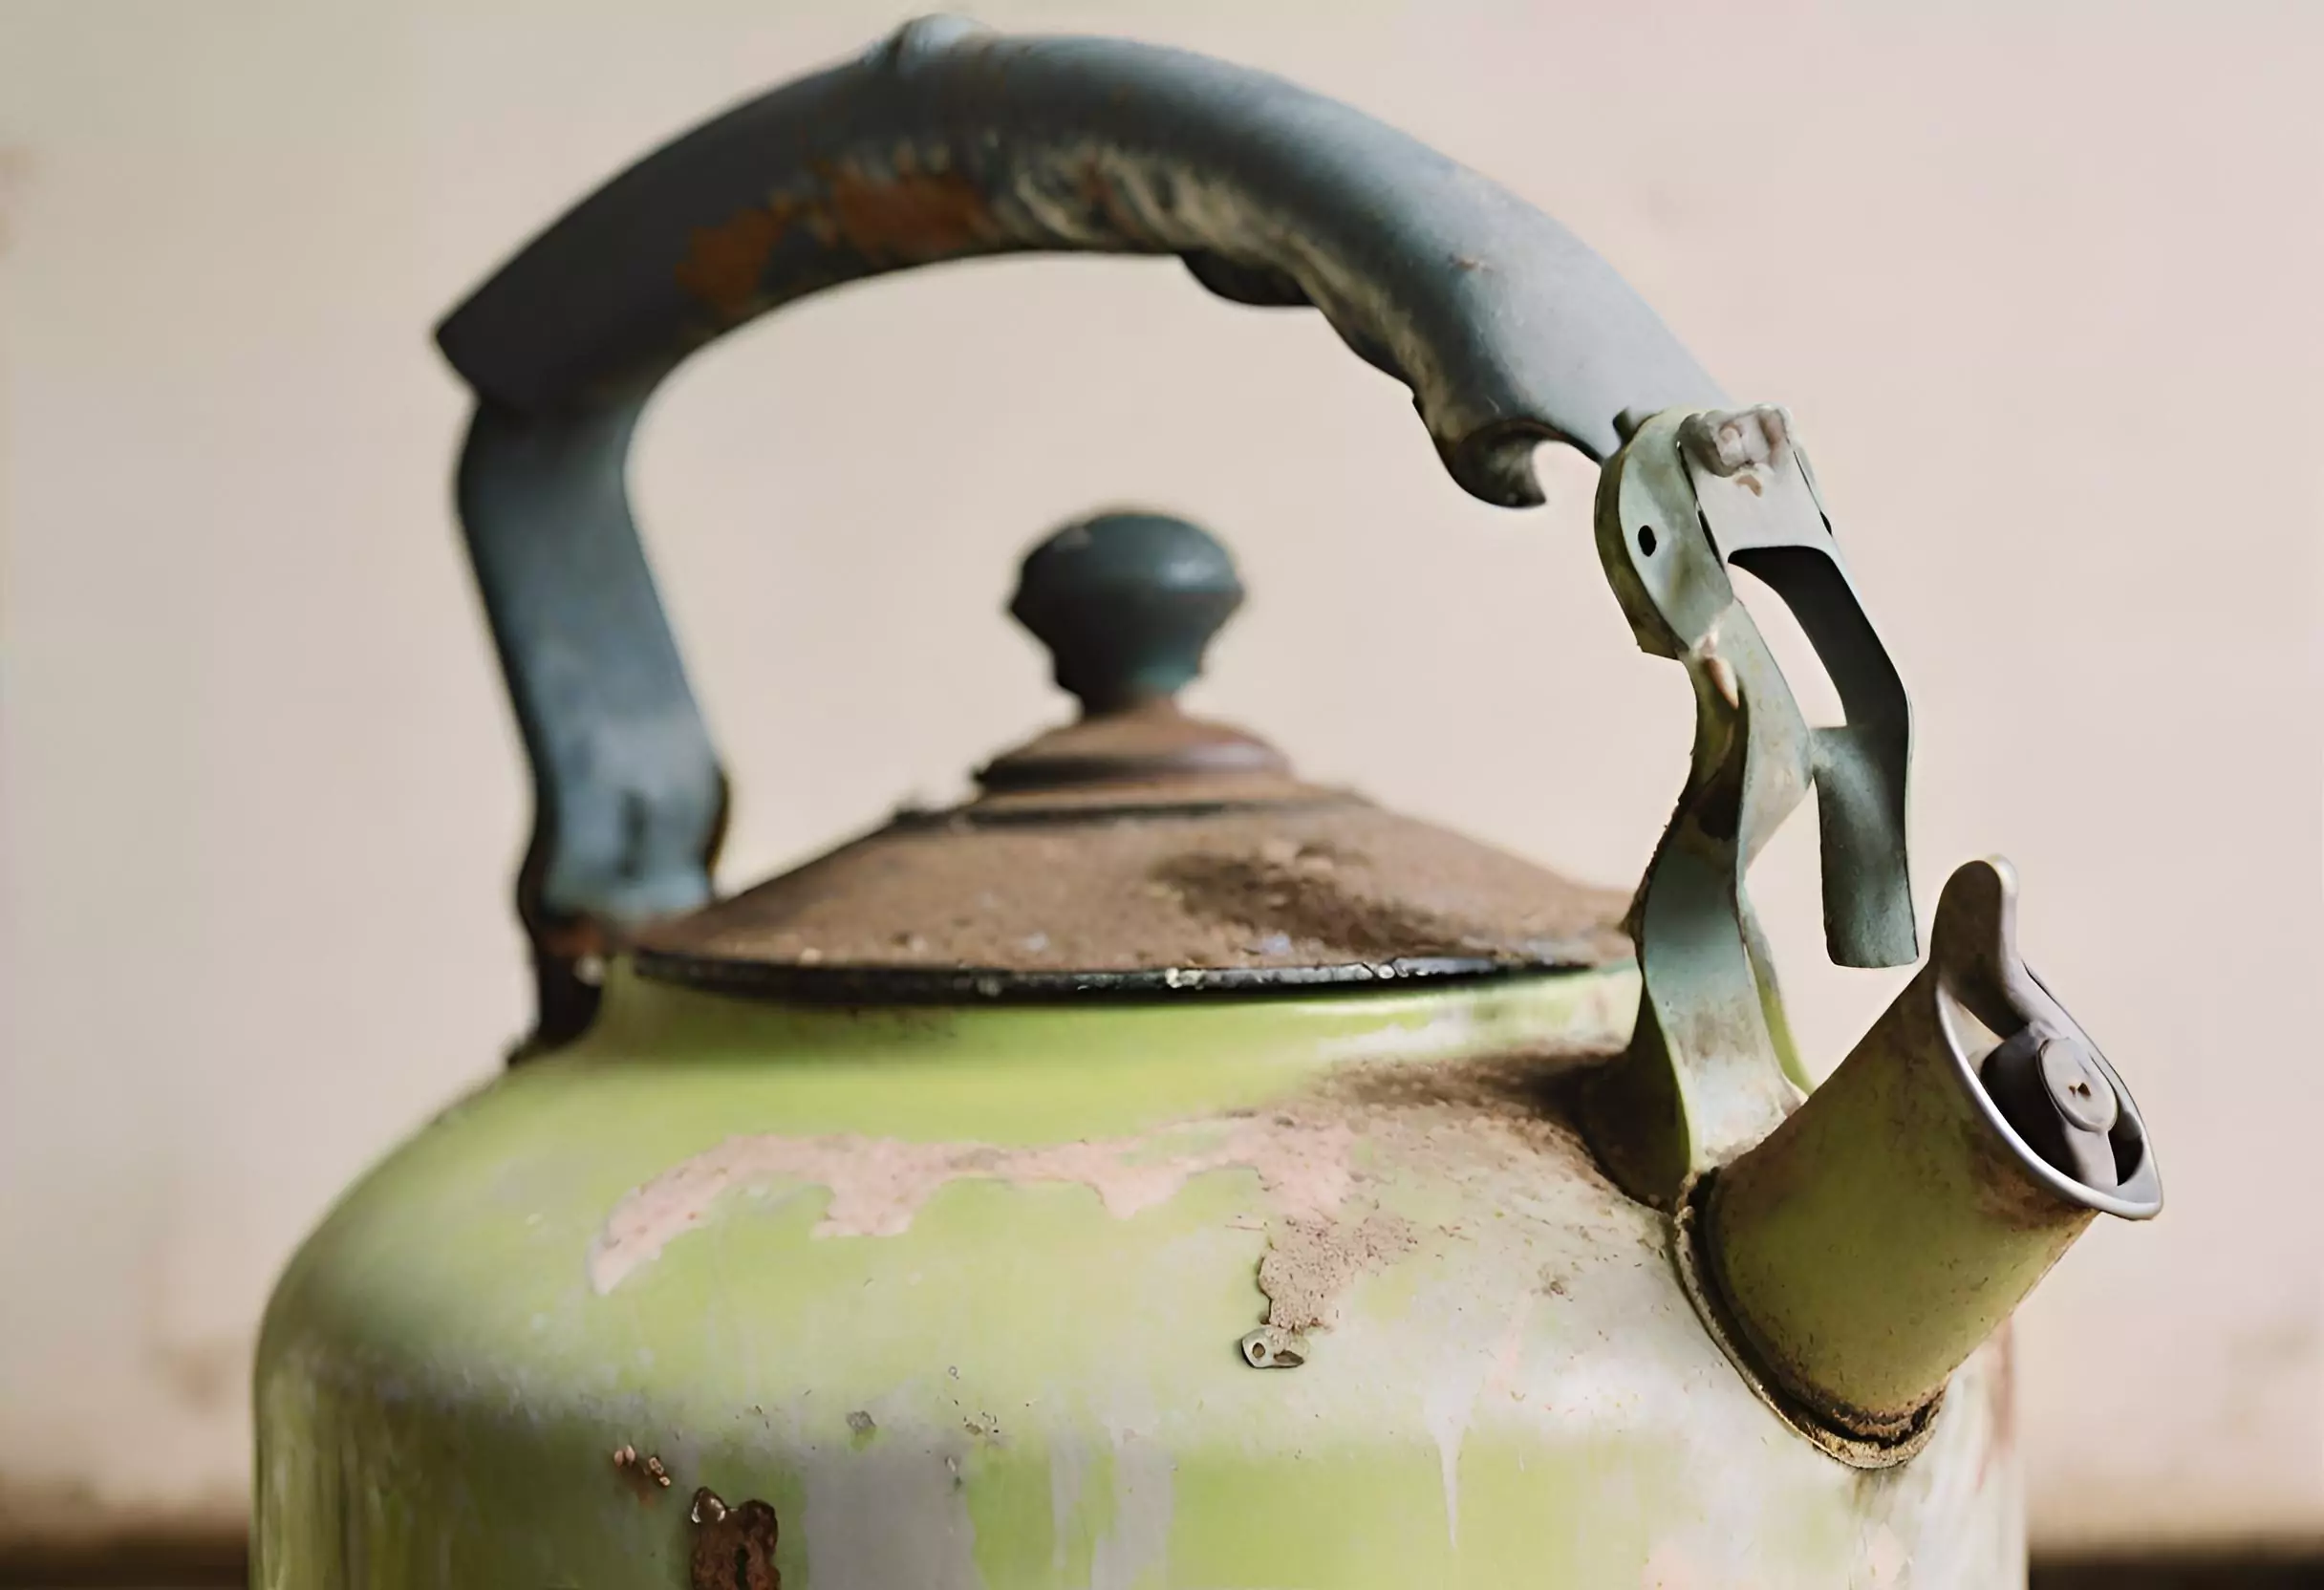
Cleaning and descaling your kettle regularly is essential to maintain its efficiency and ensure that it produces clean and safe water for your beverages. Here’s a step-by-step guide on how to clean and descale a kettle effectively:
Materials Needed:
- White vinegar or citric acid
- Water
- Soft brush or sponge
- Dish soap
- Soft cloth or towel
Step 1: Unplug the Kettle
Ensure that the kettle is unplugged and has cooled down before starting the cleaning process.
Step 2: Remove Water and Filter
Empty any remaining water from the kettle.
If your kettle has a removable filter, take it out.
Step 3: Prepare the Cleaning Solution
Mix a solution of equal parts water and white vinegar or citric acid. For example, if you use one cup of water, use one cup of vinegar or citric acid.
Step 4: Fill the Kettle
Fill the kettle with the cleaning solution until it covers the affected areas due to limescale.
Step5: Boil the Solution
Place the kettle on the heating element and bring the solution to a boil.
Allow the solution to boil for 10-15 minutes to break down the limescale.
Step 6: Let it Sit
Turn off the kettle and let the solution sit inside for an additional 15-20 minutes. This allows the descaling agent to work on the limescale.
Step 7: Scrub and Rinse
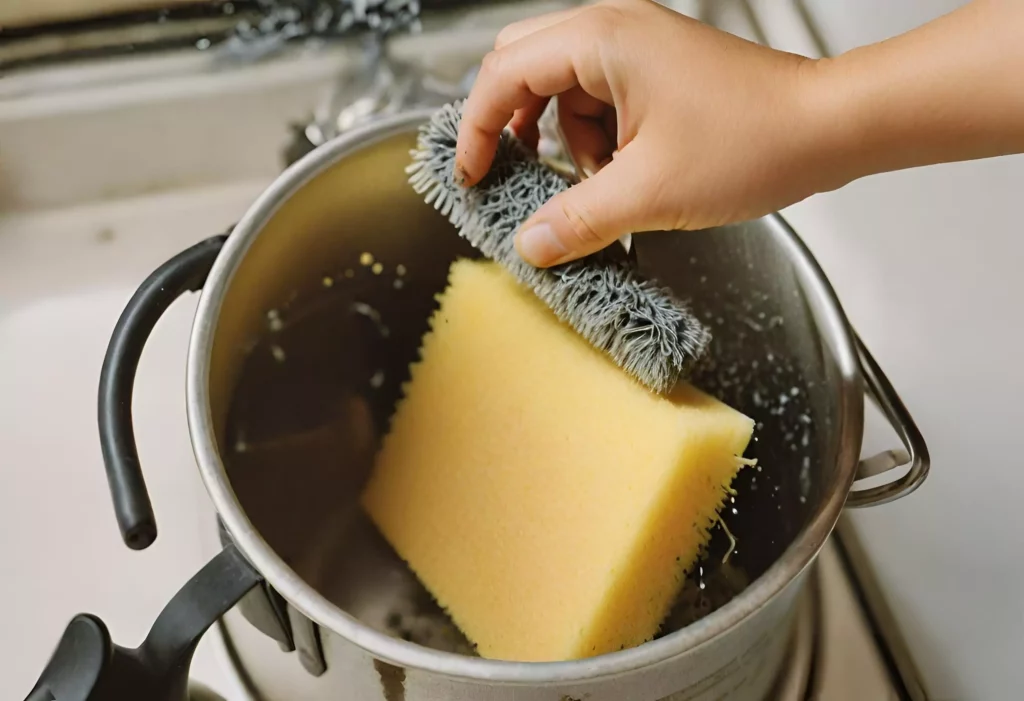
Dip a soft brush or sponge into the solution and scrub the interior of the kettle, paying extra attention to areas with limescale buildup.
If needed, use an old toothbrush for hard-to-reach areas.
Empty the solution and rinse the kettle thoroughly with clean water.
Step 8: Wipe Down Exterior
Clean the exterior of the kettle with a damp cloth and a mild dish soap solution.
Step 9: Clean the Filter
If your kettle has a removable filter, clean it separately using warm soapy water. Rinse thoroughly.
Step 10: Final Rinse
Fill the kettle with clean water and bring it to a boil once again. This helps to remove any remaining traces of the cleaning solution.
Step 11: Empty and Dry
Empty the boiled water and let the kettle air dry completely. Make sure there is no residual cleaning solution left inside.
Step 12: Check for Residue
After drying, check for any residue. If you notice any, wipe it away with a soft cloth.
Step 13: Plug in and Test
Plug the kettle back in and boil a full kettle of water to ensure there are no lingering tastes or smells from the cleaning solution.
Tips:
- If you prefer not to use vinegar, you can use citric acid as an alternative descaling agent.
- Always follow the manufacturer’s instructions regarding cleaning and descaling to avoid damaging your kettle.
- Regularly clean the kettle to prevent excessive limescale buildup.
Alternative Methods and Tips
Apart from the traditional methods mentioned earlier, you can try alternative methods and additional tips to clean and descale your kettle effectively. Here are some suggestions:
Citric acid
Instead of using vinegar or lemon juice as a descaling agent, an alternative option is to utilize citric acid. Dissolve 1-2 tablespoons of citric acid powder in water, following the same soaking or boiling process as outlined in Step 3.
Baking soda
To address stubborn stains or odors, take a damp sponge or cloth and sprinkle some baking soda on it. Gently scrub the interior of the kettle with a sponge or cloth. Afterward, thoroughly rinse the kettle.
Prevention is key
To reduce scaling in the future, consider using filtered or distilled water in your kettle. These types of water have fewer minerals, minimizing the buildup of limescale.
Regular maintenance
Clean and descale your kettle every 1-3 months, depending on the hardness of your water and frequency of use. This routine maintenance will prevent excessive scaling and ensure optimal performance.
Vinegar or lemon juice rinse
Following the descaling process, conduct a final rinse using a combination of vinegar or lemon juice with water. This will help eliminate any remaining odor or taste resulting from the descaling procedure. Rinse thoroughly with clean water afterward.
Troubleshooting and Common Issues
While cleaning and descaling your kettle, you may encounter some common issues. Here are troubleshooting tips to address these problems:
Stubborn scale deposits
- If scale deposits remain after cleaning, repeat the descaling process using a stronger solution or let the cleaning solution soak for a longer duration.
- Utilize a gentle brush, such as a soft brush or toothbrush, to effectively scrub away stubborn scales in hard-to-reach areas.
Foul odors in the kettle
- If the kettle has a lingering odor after descaling, rinse it thoroughly with water and perform an additional rinse using a mixture of water and vinegar or lemon juice.
- Boil clean water in the kettle a few times to help eliminate any remaining odors.
Rust spots
- If you notice rust spots on the interior of your kettle, do not use it for boiling water or beverages, as it may be unsafe.
- Consider replacing the kettle, as rust can affect its functionality and compromise your health.
Electrical issues
- If the kettle doesn’t turn on or experiences electrical malfunctions after cleaning, double-check that it is properly plugged in and the power source is functioning.
- If the issue persists, consult the manufacturer or seek professional assistance for repair or replacement.
Leaking kettle
- Inspect the kettle for any cracks or damage causing the leakage.
- Ensure the lid is firmly closed and verify that the spout and other components are aligned correctly.
- If the problem persists, it may be necessary to replace the kettle to ensure safe and efficient use.
Wrap Up
Maintaining a clean and descaled kettle is essential for optimal performance and a great-tasting hot beverage experience.
By adhering to the step-by-step guide provided in this article, you can effortlessly eliminate limescale deposits and prevent problems like reduced efficiency and undesirable taste.
The alternative methods and tips offer flexibility in tackling stubborn stains and preventing future scaling.
Remember to prioritize safety precautions and consult your kettle’s manual for specific instructions. With regular cleaning and descaling, you’ll enjoy a fresh and efficient kettle, ensuring delightful cups of tea or coffee every time.
Cheers to a clean and revitalized kettle!
Editor’s Note:
As seasoned editors with a wealth of experience in home maintenance, we endorse this comprehensive guide on cleaning and descaling kettles. Follow these expert steps to ensure optimal performance, longevity, and a delightful tea or coffee experience.