How to Clean a Smart Air Fryer (Simple Guide)
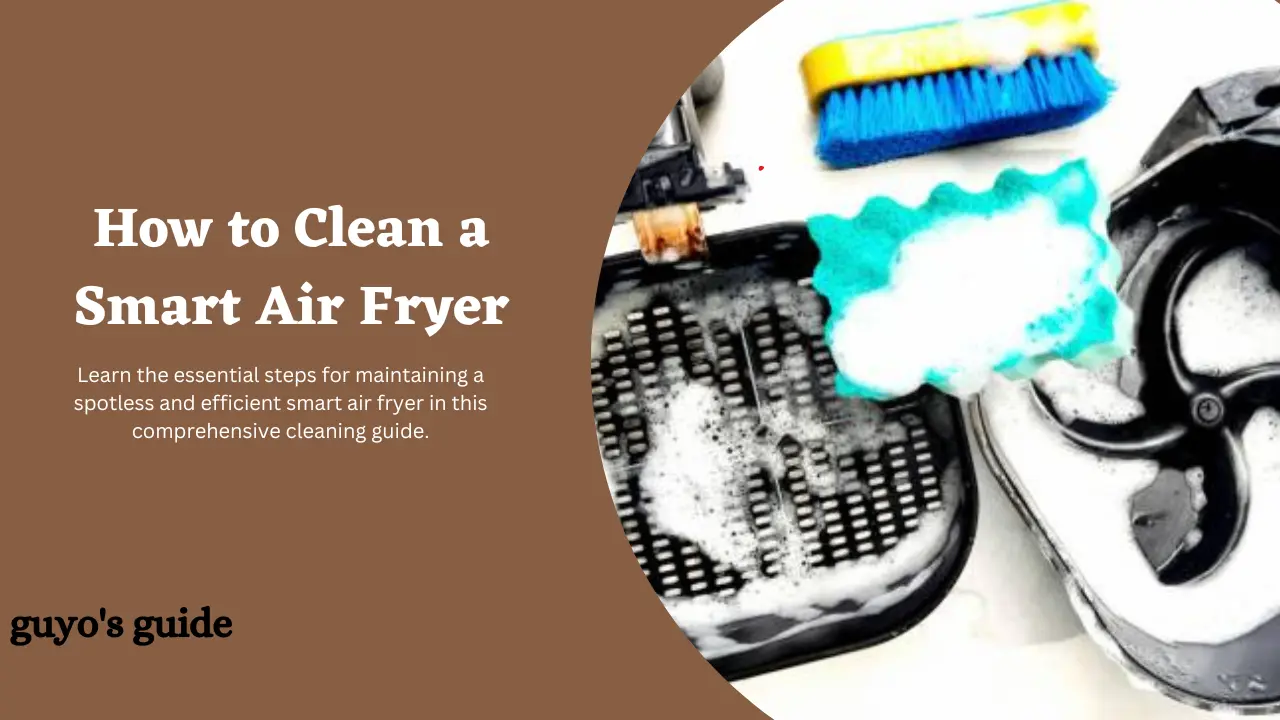

Cleaning a smart air fryer is essential for maintaining its performance and ensuring safe, healthy cooking.
Proper cleaning not only prolongs the lifespan of the appliance but also prevents the buildup of grease and food residue.
In this guide, we will provide simple steps on how to clean a smart air fryer effectively, enabling you to keep it in top condition for delicious, guilt-free meals.
Let’s get started.
Steps on How to Clean a Smart Air Fryer
Cleaning a smart air fryer is essential to maintain its performance and ensure your food cooks in a healthy environment. Here’s a step-by-step guide:
Materials Needed:
- Dish soap
- Soft sponge or cloth
- Non-abrasive brush or toothbrush
- Warm water
- Microfiber cloth
- Mild kitchen cleaner or white vinegar
Step 1: Unplug the Air Fryer
Before starting the cleaning process, ensure that the smart air fryer is unplugged and has cooled down to a safe temperature.
Step 2: Remove and Clean the Basket and Tray
Take out the air fryer basket and tray. These are usually dishwasher safe, so you can place them in the dishwasher if the manufacturer allows.
Alternatively, wash them with warm, soapy water using a soft sponge or cloth. If there are stubborn food residues, use a non-abrasive brush or toothbrush.
Step 3: Wipe Down the Interior
Use a damp sponge or cloth to wipe down the interior of the air fryer. Be gentle around the heating element and other sensitive components.
If there are any tough stains, a mixture of warm water and mild kitchen cleaner or white vinegar can be used.
Step 4: Clean the Exterior
Wipe down the exterior of the air fryer with a damp cloth. If there are fingerprints or grease stains, use a mild kitchen cleaner.
Make sure not to spray cleaner directly onto the air fryer; instead, apply it to a cloth and then wipe the surface.
Step 5: Clean the Heating Element
If your smart air fryer has a visible heating element, make sure it’s cool, then use a soft brush or cloth to gently remove any dust or debris. Do not use abrasive materials that could damage the heating element.
Step 6: Check the Air Vents
Inspect the air vents for any blockages. Use a toothpick or a small brush to remove any dust or debris that may have accumulated.
Step 7: Wipe the Control Panel
If your smart air fryer has a digital control panel, use a slightly damp cloth to wipe it clean. Avoid using excessive water around electronic components.
Step 8: Reassemble the Air Fryer
Once all the components are dry, reassemble the air fryer. Ensure that the basket and tray are properly inserted.
Step 9: Plug In and Test
Plug in the air fryer and perform a quick test to ensure everything is working correctly.
Deodorizing and Maintaining:
- If your air fryer has developed odors, you can place a small dish with a mixture of equal parts water and white vinegar in the fryer basket. Run the air fryer at a low temperature for a few minutes to help eliminate any odors.
- Regular maintenance: Clean your air fryer after each use to prevent the buildup of grime and odors. This will make deep cleaning less frequent and more manageable.
Tips for Maintaining a Clean Smart Air Fryer
Maintaining a clean smart air fryer not only ensures that it continues to function properly but also extends its lifespan. Here are some tips for keeping your air fryer clean and well-maintained:
1. Clean after every use
It’s a good practice to clean your air fryer after each use. This prevents food residue from accumulating and becoming harder to remove.
2. Unplug and cool down
Always unplug the air fryer and allow it to cool down completely before cleaning. Safety should be your top priority.
3. Use non-abrasive tools
When cleaning the air fryer basket, tray, and interior, use non-abrasive cleaning tools such as soft sponges, cloths, and brushes. Avoid abrasive scouring pads or harsh chemicals that can damage the non-stick coating.
4. Dishwasher-safe parts
Check your air fryer’s user manual to see if the basket, tray, and accessories are dishwasher-safe. If they are, take advantage of this feature for easier cleaning.
5. Hand wash non-dishwasher-safe parts
If certain components are not dishwasher-safe, wash them by hand with warm, soapy water. Use a gentle touch and avoid abrasive scrubbing to preserve the non-stick surface.
6. Use warm, soapy water
For general cleaning, warm, soapy water is sufficient. Avoid using abrasive or harsh cleaning products that can damage the air fryer’s surface.
7. Remove and clean the tray and basket
The air fryer’s tray and basket are the components that come into direct contact with food. Clean them thoroughly after each use to prevent the buildup of grease and food residue.
8. Check the heating element
Periodically inspect the heating element for any food particles or residue that may have been collected. Use a soft brush or a toothbrush to gently clean it.
9. Deodorize as needed
If your air fryer develops odors, you can place a small dish with a mixture of equal parts water and white vinegar in the fryer basket. Run the air fryer at a low temperature for a few minutes to help eliminate odors.
10. Regularly clean the air circulation fan
Dust and debris can accumulate on the air circulation fan, affecting the air fryer’s performance. Use a soft brush, like a paintbrush, to clean the fan blades.
11. Empty and clean the bottom tray
Some air fryers have a removable bottom tray that collects excess oil and crumbs. Empty and clean this tray regularly to prevent any buildup.
12. Store properly
Store your air fryer in a dry, cool place to prevent dust and debris from settling on it. Make sure it’s covered or protected when not in use.
13. Follow manufacturer guidelines
Always refer to the user manual for your specific air fryer model for manufacturer-specific cleaning recommendations and precautions.
14. Regular maintenance
Consider conducting a deep cleaning of your air fryer at least once a month or as needed, especially if you use it frequently. Follow the steps outlined in the “Steps on How to Clean a Smart Air Fryer” guide provided earlier.
FAQs
How often should I clean my smart air fryer?
It’s a good practice to clean your air fryer after every use to prevent the buildup of food residue and grease. However, a more thorough cleaning, including the interior and accessories, should be done at least once a month or as needed, depending on your usage.
Can I put the air fryer basket and accessories in the dishwasher?
Check your air fryer’s user manual for specific instructions, but many air fryer baskets and accessories are dishwasher-safe. If they are, it’s convenient to place them in the dishwasher for cleaning.
Can I use abrasive scrubbers or scouring pads to clean my air fryer?
No, it’s best to avoid abrasive materials when cleaning your air fryer, as they can damage the non-stick coating and other components. Instead, use soft sponges, cloths, and non-abrasive brushes.
How can I remove stubborn stains or burnt-on residue from the air fryer basket and tray?
Create a paste with baking soda and water and apply it to the stains. Let it sit for a few minutes, then scrub gently with a soft brush or cloth. Rinse thoroughly and dry.
Do I need to clean the heating element of the air fryer?
Yes, it’s a good idea to periodically check and clean the heating element. Use a soft brush or a toothbrush to gently remove any food particles or residue that may have accumulated on it.
What’s the best way to clean the air circulation fan in the air fryer?
Use a soft brush, like a paintbrush, to clean the fan blades. Be gentle and avoid bending or damaging the blades.
Can I use harsh chemicals or oven cleaners to clean my air fryer?
No, it’s essential to avoid using harsh chemicals, oven cleaners, or abrasive cleaning products, as they can damage the air fryer’s surfaces. Stick to warm, soapy water for cleaning.
Wrap Up
Maintaining a clean smart air fryer is not only vital for hygiene but also for its optimal performance and longevity.
Regular, careful cleaning of both the exterior and interior components, adherence to manufacturer guidelines, and the removal of stubborn stains ensure that your air fryer continues to serve up delicious and healthy meals, hassle-free.
By following these simple cleaning steps, you can keep your kitchen appliance in excellent condition for years to come.