How to Install a Moen Kitchen Faucet (7 Simple Steps)
Some of the links in this post are affiliate links, meaning, at no additional cost to you, We will earn a commission if you click through and make a purchase.

Installing a kitchen faucet may seem daunting, but with the right guidance, it can be a straightforward process.
In this blog post, we will explore how to install a Moen kitchen faucet step by step.
Whether you’re a seasoned DIY enthusiast or a beginner, this guide will provide clear instructions that are easy to follow.
So, let’s dive in.
How to Install a Moen Kitchen Faucet (Step-by-Step)
Installing a Moen kitchen faucet is a DIY project that can be completed in just a few hours with the right tools and supplies.
This complete guide will walk you through the process from start to finish so you can have a stylish and functional new faucet in no time.
Materials Needed:
- Moen kitchen faucet
- Mounting hardware
- Plumbers putty
- Teflon tape
- Adjustable wrench
- Screwdriver
- Pliers
Step 1: Turn Off the Water Supply
The first step in installing a Moen kitchen faucet is to turn off the water supply to the sink. This is typically done by turning a valve under the sink or by turning off the main water supply to the entire house.
Step 2: Disconnect the Old Faucet
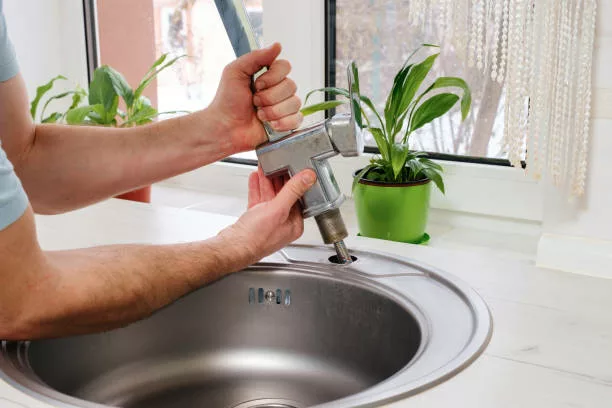
Once the water supply is off, you can disconnect the old faucet. Loosen the nuts that hold the water supply lines to the faucet with a pair of pliers and remove them. Then, simply use a screwdriver to remove the screws that hold the faucet to the sink.
Step 3: Prepare the Sink
Wipe the sink area clean and apply a small amount of plumbers putty around the hole in the sink to create a watertight seal. Place the mounting hardware onto the sink, including the gasket and mounting plate.
Step 4: Assemble the Faucet

Attach the water supply lines to the new faucet and wrap the threads with Teflon tape. Then, attach the handle and any accessories, such as a side sprayer, to the faucet.
Step 5: Install the Faucet
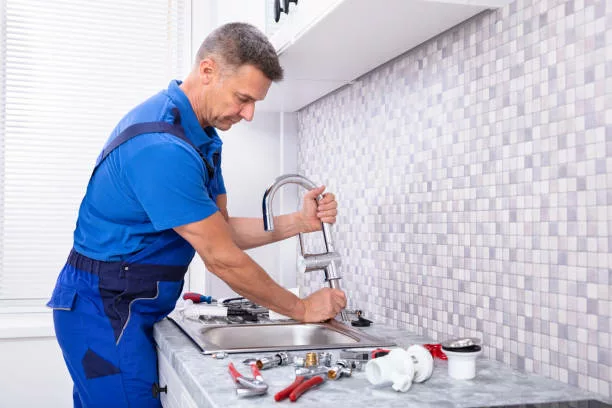
Insert the faucet through the mounting plate and secure it to the sink using the screws provided. Tighten the nuts on the water supply lines to the faucet with an adjustable wrench.
Step 6: Test for Leaks
Please turn the water supply back on and test the faucet for leaks. Check all connections, including the water supply lines and the area where the faucet meets the sink, for any signs of dripping or leaking.
Step 7: Clean Up and Enjoy

Clean up any excess plumbers’ putty or debris, and enjoy your new Moen kitchen faucet!
What is the Best Moen Kitchen Faucet?
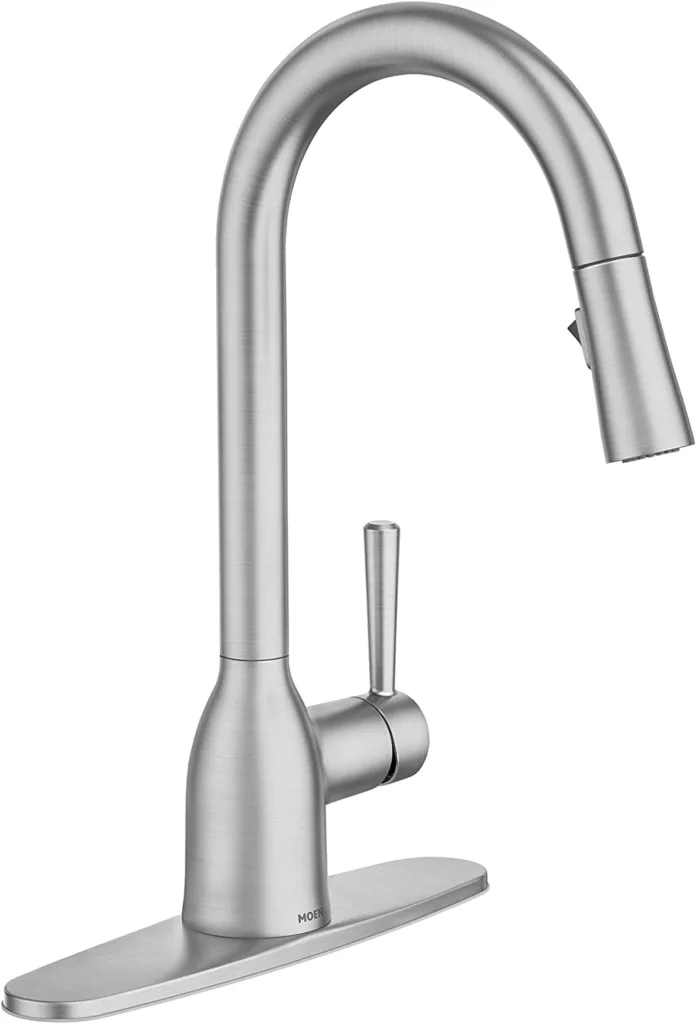
Here are our top picks of the best moen kitchen faucets you can consider purchasing this year:
Amazon

Amazon
Benefits of Upgrading to a Moen Kitchen Faucet
Upgrading to a Moen kitchen faucet can offer many benefits, including:
1. Improved Functionality
Moen kitchen faucets are designed with the latest technology, providing enhanced functionality such as spray patterns, touchless operation, and temperature control.
2. Increased Durability
Moen kitchen faucets are made with high-quality materials, ensuring they last longer and withstand daily use.
3. Enhanced Style
Moen offers a wide range of kitchen faucet styles, from classic to modern, allowing you to choose the perfect one for your kitchen decor.
4. Ease of Use
Moen kitchen faucets feature ergonomic designs that make them easy and comfortable to use.
5. Better Water Flow
Moen kitchen faucets often have higher flow rates than older models, providing improved water flow for tasks like filling pots or washing dishes.
6. Improved Energy Efficiency
Many Moen kitchen faucets, such as low-flow aerators, are equipped with features that conserve water and reduce energy costs.
7. Increased Home Value
Upgrading to a Moen kitchen faucet can add value to your home, making it more attractive to potential buyers.
FAQs
How do I turn off the water supply before installing a Moen kitchen faucet?
The water supply can be turned off by turning a valve under the sink or turning off the main water supply to the entire house.
How do I remove the old faucet before installing a Moen kitchen faucet?
Loosen the nuts that hold the water supply lines to the old faucet with a pair of pliers, remove the water supply lines, and use a screwdriver to remove the screws that hold the faucet to the sink.
What should I do to prepare the sink before installing a Moen kitchen faucet?
Wipe the sink area clean and apply a small amount of plumbers putty around the hole in the sink to create a watertight seal. Then, place the mounting hardware onto the sink, including the gasket and mounting plate.
Wrap Up
Installing a Moen kitchen faucet can be a rewarding DIY project that adds functionality and style to your kitchen.
By following the steps outlined in this guide, you can easily upgrade your kitchen with a new Moen kitchen faucet in just a few hours.
It is essential to have all the tools you need on hand and to follow the instructions carefully. If you need clarification on any part of the process, consider seeking assistance from a professional plumber.
Once your new Moen kitchen faucet is installed, enjoy the improved water flow and functionality and the enhanced look of your kitchen sink. And with proper maintenance, your Moen kitchen faucet should provide many years of trouble-free use.
Upgrading to a Moen kitchen faucet is a wise investment that will enhance your kitchen and bring you years of enjoyment.
Editor’s Note:
As experts in home improvement, our editorial team at Guyo’s Guide emphasizes the seamless execution of this Moen kitchen faucet installation guide. Trust our concise instructions for a successful, rewarding DIY project.

