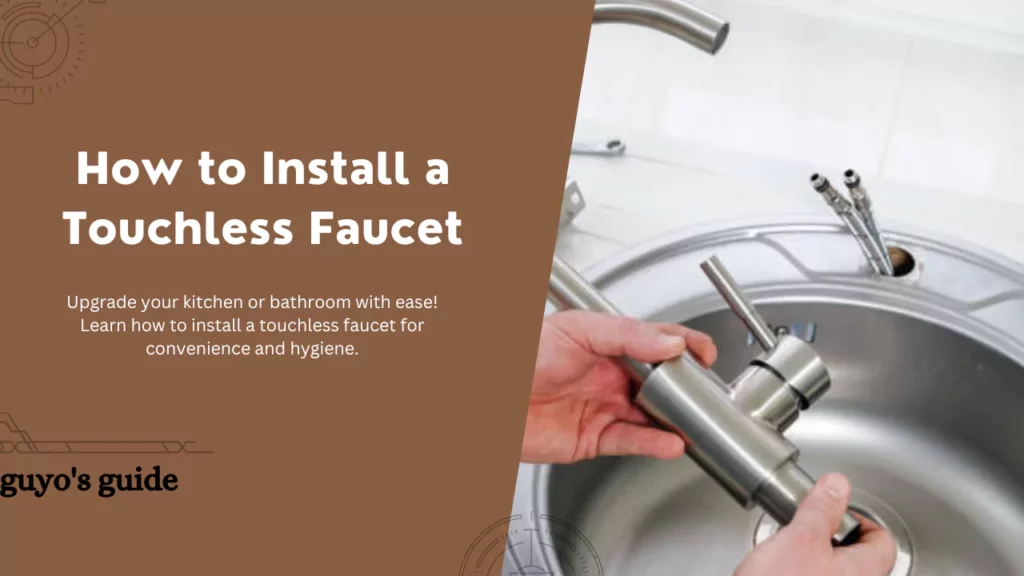
How to Install a Touchless Faucet (13 Simple Steps)

Installing a touchless faucet can bring convenience and hygiene to your kitchen or bathroom.
In this blog post, we will guide you through the step-by-step process of installing a touchless faucet, ensuring a smooth and hassle-free experience.
By following these instructions, you’ll be able to enjoy the benefits of a touchless faucet in no time.
Let’s jump in.
Steps on How to Install a Touchless Faucet
Installing a touchless faucet can be a convenient and hygienic upgrade for your kitchen or bathroom. Here’s a step-by-step guide on how to install a touchless faucet:
Tools and Materials You’ll Need:
- Touchless faucet
- Adjustable wrench
- Plumber’s tape (Teflon tape)
- Screwdriver
- Bucket or towel (for catching water)
- Phillips and flathead screwdrivers
- Safety glasses
- Pipe cutter or hacksaw (if needed)
- Plumber’s putty or silicone sealant (if needed)
Step 1: Gather Your Tools and Materials
Make sure you have all the necessary tools and materials ready before you begin.
Step 2: Shut Off the Water Supply
Locate the shut-off valves under the sink or at the main water supply to the house. Turn off the water supply to the faucet. To be safe, turn on the faucet and allow any remaining water to drain.
Step 3: Disconnect the Old Faucet (if applicable)
If you’re replacing an existing faucet, use an adjustable wrench to disconnect the supply lines (hot and cold) from the old faucet.
Also, disconnect the faucet from the sink or countertop. Make sure to catch any remaining water in a bucket or with a towel.
Step 4: Remove the Old Faucet
Unscrew the mounting nuts that secure the old faucet to the sink or countertop. Lift the old faucet out.
Step 5: Clean the Sink or Countertop
Clean the area where the new touchless faucet will be installed. Remove any old caulk or debris.
Step 6: Install the Touchless Faucet
Follow the manufacturer’s instructions for installing the touchless faucet. Generally, the process involves:
- Inserting the faucet through the mounting hole.
- Attaching a mounting plate or washer (if provided) underneath the sink.
- Securing the faucet in place with a mounting nut from below.
- Connecting the supply lines to the faucet’s inlet ports. Use the plumber’s tape (Teflon tape) on the threads to ensure a watertight seal.
Step 7: Connect the Power Supply
Most touchless faucets require a power source, usually batteries or an electrical outlet. Follow the manufacturer’s instructions to connect the power supply. For battery-powered faucets, install the batteries in the control box.
Step 8: Install the Sensor
Position the sensor in a convenient location, often near the faucet’s base or spout. Connect the sensor to the control box following the manufacturer’s instructions.
Step 9: Test the Faucet
Turn on the water supply and test the touchless faucet to ensure it functions correctly. You should be able to wave your hand under the sensor to activate the water flow and wave again to stop it.
Step 10: Secure the Control Box
Mount the control box in an accessible and secure location. This box contains the electronic components and batteries (if applicable) for the touchless system.
Step 11: Check for Leaks
Inspect all connections for leaks. If you find any leaks, tighten the connections or replace any faulty components. Use the plumber’s putty or silicone sealant if necessary.
Step 12: Finish the Installation
Secure the control box cover (if provided) and tidy up any loose wires. Ensure all components are properly installed and the faucet is securely mounted.
Step 13: Enjoy Your Touchless Faucet
Your touchless faucet is now ready for use. Enjoy the convenience and hygiene of a touchless water source in your kitchen or bathroom.
How to Maintain Your Touchless Faucet After Installation
Maintaining a touchless faucet is essential to ensure it continues to work properly and remains hygienic. Here are some maintenance tips for a touchless faucet after installation:
1. Regular Cleaning
Wipe down the faucet with a damp cloth regularly to remove water spots, fingerprints, and any residue. Use a mild, non-abrasive cleaner if necessary.
Avoid harsh or abrasive cleaners, which can damage the faucet’s finish.
2. Avoid Chemicals
Avoid using harsh chemicals or abrasive pads on the faucet, as they can damage the finish and sensor.
3. Inspect for Leaks
Periodically check for any leaks around the base of the faucet or at the supply line connections. If you notice leaks, tighten the connections or replace any faulty components as needed.
4. Check the Batteries (If Applicable)
If your touchless faucet is battery-operated, monitor the battery life. Replace the batteries as needed to ensure the sensor functions correctly. Most touchless faucets will give you an indicator when the batteries are low.
5. Clean the Sensor Eye
The sensor is a critical component of the touchless faucet. Keep the sensor eye clean and free from obstructions.
Use a soft, damp cloth to wipe it down and remove any buildup that may affect its performance.
6. Inspect the Control Box
Check the control box regularly to ensure it is securely mounted and free from debris. Make sure the wires and connections are not damaged or loose.
7. Maintain the Water Supply Lines
Periodically inspect the water supply lines for signs of wear or damage. If you notice any issues, replace the supply lines as necessary.
8. Maintain the Solenoid Valve
The solenoid valve is a key component of the touchless system.
While it typically requires little maintenance, it’s essential to keep it free from debris or mineral buildup that may affect its operation.
If you notice reduced water flow or erratic behavior, you may need to clean or replace the solenoid valve.
9. Consult the Manufacturer’s Manual
Refer to the manufacturer’s manual or instructions that came with your touchless faucet for specific maintenance guidelines. Manufacturers may have unique recommendations for their products.
10. Address Issues Promptly
If you encounter any issues with your touchless faucet, such as reduced water flow, inconsistent sensor response, or unusual sounds, address them promptly. It’s best to troubleshoot and resolve problems early to prevent more significant issues.
11. Schedule Professional Service
If you are unsure about how to maintain or repair your touchless faucet, or if you encounter complex issues, consider consulting a professional plumber or the faucet manufacturer’s customer support for assistance.
FAQs
Do I need special plumbing skills to install a touchless faucet?
While basic DIY skills are helpful, you don’t need extensive plumbing expertise to install a touchless faucet. Following the manufacturer’s instructions and this installation guide can help you successfully install one.
Can I install a touchless faucet on my existing sink?
In most cases, yes. Touchless faucets are designed to fit standard sink or countertop configurations. You might need to ensure that there’s a suitable mounting hole and access to power or batteries for the touchless system.
Are touchless faucets battery-powered or electrically connected?
Touchless faucets can be either battery-powered or electrically connected. Battery-operated models are more common and straightforward to install, while electrically connected ones require access to an electrical outlet and are usually installed by a professional.
What type of batteries do touchless faucets typically use?
Most touchless faucets use common household batteries, often AA or AAA. The specific battery type and quantity depend on the faucet model. Always refer to the manufacturer’s instructions for battery information.
How long do the batteries in a touchless faucet last?
The battery life of a touchless faucet can vary depending on usage and the quality of batteries used. On average, batteries can last anywhere from 6 months to 2 years. Some models have low-battery indicators to let you know when it’s time to replace them.
What maintenance is required after installing a touchless faucet?
Regular cleaning, checking for leaks, inspecting the sensor eye, and maintaining the control box are essential maintenance tasks. Refer to the manufacturer’s guidelines for specific maintenance instructions.
Wrap Up
Installing a touchless faucet is a practical upgrade that adds convenience and hygiene to your home.
With the step-by-step guide and maintenance tips provided, you can confidently embark on this DIY project.
Whether you’re a seasoned DIY enthusiast or a novice, the rewards of a touchless faucet are well worth the effort.
So go ahead, make the switch, and enjoy the future of hands-free, efficient water usage in your kitchen or bathroom.