How to Install a Water Dispenser (5 Different Types)
Some of the links in this post are affiliate links, meaning, at no additional cost to you, We will earn a commission if you click through and make a purchase.
Installing a water dispenser in your home or office can be a convenient and efficient way to access clean and refreshing drinking water.
Whether you’re looking to upgrade your current system or starting from scratch, understanding the installation process is crucial.
In this blog post, we will provide you with a step-by-step guide on how to install a water dispenser.
From selecting the right location to connecting the necessary components, we’ll walk you through each stage, ensuring a hassle-free installation experience.
Let’s get started.
Step-by-Step on How to Install a Water Dispenser (5 Different Types)
Installing water dispensers can vary depending on the type of dispenser you have. Here’s a step-by-step guide on installing different types of water dispensers:
1. Bottleless Water Dispenser Installation:
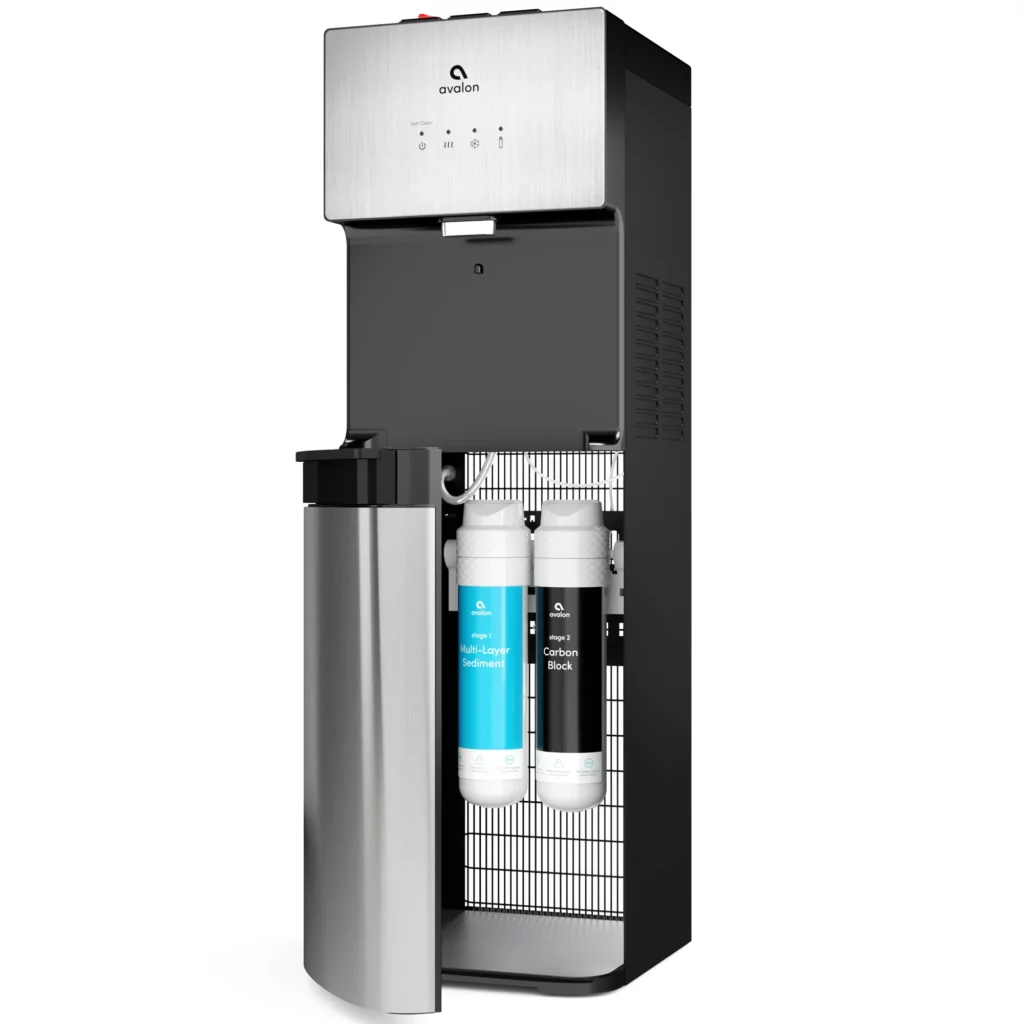
Bottleless water dispensers are designed to connect directly to a water source and typically require professional installation due to their complexity. Here’s a general overview of the installation process:
Materials Needed:
- Bottleless water dispenser
- Water source connection kit (provided with the dispenser or purchased separately)
- Adjustable wrench or pliers
- Teflon tape (for sealing threaded connections)
- Power outlet
Installation Steps:
- Choose a suitable location for the dispenser near a water source and a power outlet.
- Unbox the dispenser and remove any packaging materials.
- Read the manufacturer’s installation instructions thoroughly before proceeding.
- Connect the water source connection kit to the water supply. This kit usually includes a filter, tubing, and connectors.
- Turn off the main water supply before making any connections.
- Use an adjustable wrench or pliers to connect the tubing from the water source kit to the dispenser’s water inlet, following the manufacturer’s instructions.
- Apply Teflon tape to the threaded connections to ensure a watertight seal.
- Turn on the main water supply and check for any leaks at the connections.
- Plug the dispenser into a nearby power outlet.
- Power on the dispenser and follow the manufacturer’s instructions for setting up the filtration system, if applicable.
2. Top-Loading Bottled Water Dispenser Installation:
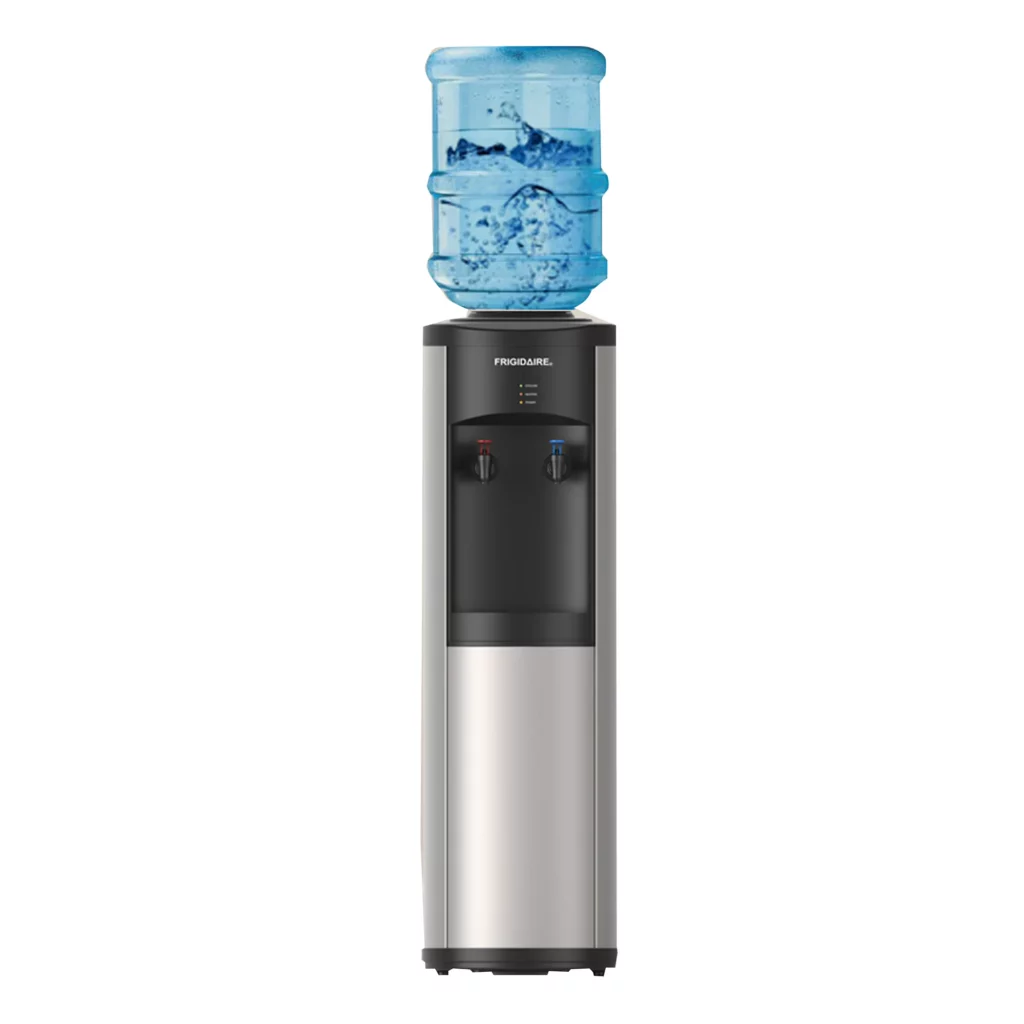
Top-loading bottled water dispensers are relatively simple to install and are designed to accommodate standard water bottles.
Materials Needed:
- Top-loading bottled water dispenser
- Standard water bottle (3 or 5 gallons)
Installation Steps:
- Choose a flat and stable surface to place the dispenser.
- Remove the drip tray and place the dispenser on the chosen surface.
- Lift the cap from the top of the water bottle.
- Carefully invert the water bottle and place it in the designated area on the dispenser’s top.
- Align the bottle’s neck with the dispenser’s puncture mechanism.
- Gently press down on the bottle to pierce the cap, allowing water to flow into the dispenser’s reservoir.
- Some dispensers might require you to adjust the bottle position to ensure proper water flow.
- Replace the drip tray under the dispenser’s tap to catch any drips.
- Press the dispenser’s tap to dispense water. It might take a moment for water to start flowing as air escapes from the system.
3. Bottom-Loading Bottled Water Dispenser Installation:

Bottom-loading bottled water dispensers are designed for easier bottle replacement as the water bottle is stored at the bottom.
Materials Needed:
- Bottom-loading bottled water dispenser
- Standard water bottle (3 or 5 gallons)
Installation Steps:
- Choose a suitable location and ensure the dispenser is placed on a level surface.
- Open the bottom cabinet door to access the bottle compartment.
- Place the water bottle in the designated area at the bottom of the dispenser.
- Align the neck of the water bottle with the dispenser’s puncture mechanism.
- Close the cabinet door securely.
- The dispenser should automatically puncture the bottle’s cap and establish water flow.
- Dispense water from the dispenser’s tap and make sure it’s working properly.
4. Countertop Water Dispenser Installation:
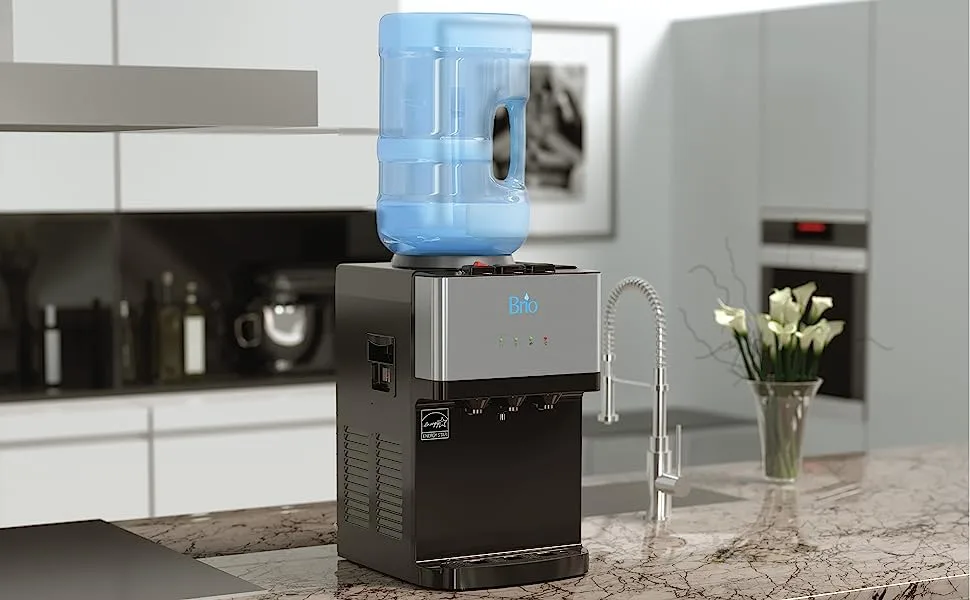
Countertop water dispensers are compact and designed to sit on a countertop, providing easy access to filtered water.
Materials Needed:
- Countertop water dispenser
- Standard water bottle (3 or 5 gallons)
- Power outlet (if the dispenser has a cooling or heating function)
Installation Steps:
- Select a stable and flat surface on your countertop to place the dispenser.
- Remove the packaging materials from the dispenser and any included accessories.
- Lift the cap from the top of the water bottle.
- Invert the water bottle and carefully place it on the dispenser’s designated area.
- Align the bottle’s neck with the dispenser’s puncture mechanism.
- If the dispenser has a cooling or heating function, plug it into a nearby power outlet.
- Allow a moment for the water to flow into the dispenser’s reservoir. The air might escape from the system during this process.
- Press the dispenser’s tap to dispense water and check for proper water flow.
5. Wall-Mounted Water Dispenser Installation:
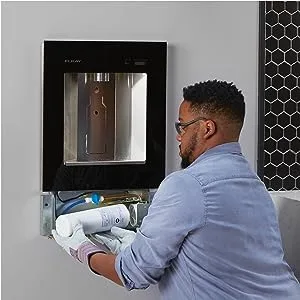
Wall-mounted water dispensers are often used in commercial settings and are attached to the wall for convenient water access.
Materials Needed:
- Wall-mounted water dispenser
- Mounting hardware (provided with the dispenser)
- Power outlet (if applicable)
Installation Steps:
- Choose a suitable location on the wall for mounting the dispenser, ensuring it’s accessible to users.
- Locate the wall studs or use appropriate wall anchors to securely attach the mounting hardware to the wall.
- Attach the dispenser to the mounting bracket using the provided screws or attachments.
- If the dispenser requires a power supply, ensure there’s a nearby power outlet and connect the dispenser’s power cord.
- Check that the dispenser is securely mounted and level on the wall.
- Follow any manufacturer-specific instructions to activate the water flow and cooling or heating functions if applicable.
Note: Remember that these are general guidelines and that the specific steps may vary depending on the brand and model of the water dispenser you’re installing. Always refer to the manufacturer’s installation instructions for the most accurate and up-to-date information. If you’re unsure or uncomfortable with the installation process, consider seeking professional assistance.
Maintenance and Care When Installing a Water Dispenser
When installing a water dispenser, there are several maintenance and care steps you can follow to ensure proper functionality and longevity. Here’s a guide to help you:
1. Read the manufacturer’s instructions
Start by carefully reading the user manual provided by the manufacturer. It will contain specific instructions and recommendations for installation, maintenance, and care.
2. Location selection
Select a suitable location for your water dispenser, ensuring it is placed on a stable and level surface and away from direct sunlight and heat sources. Ensure that there is easy access to a power outlet and a water source, if applicable.
3. Proper electrical connection
If your water dispenser requires an electrical connection, follow the manufacturer’s instructions for proper installation. Ensure that the voltage requirements match your electrical system, and use a grounded outlet for safety.
4. Water source connection
If your water dispenser has a direct water connection, follow the instructions for connecting it to a water source. This may involve attaching a water line or hose to a water supply and ensuring a secure connection to prevent leaks.
5. Install a water filter (if applicable)
Some water dispensers have built-in filters to improve water quality. If your dispenser includes a filter, install it according to the manufacturer’s instructions. This may involve inserting the filter cartridge or connecting it to the water line.
6. Initial cleaning and flushing
Before using the water dispenser, clean and flush it to remove any dust, debris, or residues that may have accumulated during storage or shipping. Follow the manufacturer’s instructions for cleaning and flushing the system properly.
7. Regular cleaning and sanitization
As mentioned in the previous response, regular cleaning and sanitization are crucial for maintaining a water dispenser. Follow the recommended cleaning schedule and procedures outlined by the manufacturer. This typically involves cleaning the reservoir and removable parts and sanitizing the external surfaces.
8. Filter replacement
If your water dispenser has a filter, ensure that you replace it at the recommended intervals. Follow the manufacturer’s instructions for filter replacement to maintain optimal water quality.
9. Regular inspections
Periodically inspect the dispenser for any signs of leaks, unusual noises, or malfunctions. If you notice any issues, refer to the troubleshooting section of the user manual or contact the manufacturer for assistance.
10. Follow maintenance recommendations
Manufacturers often provide additional maintenance recommendations specific to their water dispenser models. These may include descaling procedures, specific cleaning products to use or avoid, and other maintenance tips. Follow these recommendations to keep your dispenser in good working condition.
FAQs
What tools and materials are needed to install a water dispenser?
The specific tools and materials required may vary depending on the type of water dispenser being installed. Generally, you may need a drill, screws, a wrench or pliers, a water supply line, a water filter (if applicable), and a power source (if the dispenser has cooling or heating features).
Are there any safety precautions I should take during installation?
Yes, it’s important to follow safety precautions during installation. Ensure that the power supply is turned off when connecting electrical components, and take care when handling sharp tools or working with water lines. If you’re uncertain about any step, it’s advisable to consult a professional or the manufacturer’s customer support.
Can I install a water dispenser myself, or do I need professional assistance?
The complexity of the installation process depends on the type of water dispenser and your plumbing and electrical knowledge. While some installations can be done by individuals with basic DIY skills, others may require professional assistance, especially if they involve modifications to plumbing or electrical systems. It’s always wise to assess your abilities and seek professional help if needed.
Wrap Up
Installing a water dispenser in your kitchen or workplace is a convenient and practical solution for ensuring easy access to clean and refreshing drinking water.
By following the step-by-step guide outlined in the article, you can successfully set up a water dispenser that meets your specific needs.
Whether it’s a countertop model for your kitchen or a freestanding unit for a busy workplace, the installation process is relatively straightforward.
By taking the time to install a water dispenser, you can promote hydration and improve the overall well-being of yourself and those around you.
Cheers to a healthier and more convenient way of staying hydrated!

