How to Measure a Kitchen Sink + Corner Sink (Ultimate Guide)


Whether you’re doing a full kitchen remodeling, or just updating your sink, getting accurate measurements is key to a successful installation.
In this blog post, we will guide you through the process of measuring a kitchen sink, so you can make an informed decision that fits seamlessly into your space.
Get ready to take measurements and make an informed decision on your kitchen sink replacement or installation today.
Let’s dive in.
Step by Step on How to Measure a Kitchen Sink

Measuring a kitchen sink is essential if you plan to replace your existing sink or install a new one. Proper measurements ensure that you choose the right-sized sink and that it fits seamlessly into your countertop and cabinet space. Here’s a step-by-step guide on how to measure a kitchen sink:
Tools and Materials You’ll Need:
- Tape measure
- Pen or pencil
- Paper or notepad
- Safety goggles (optional)
Step 1: Safety First
Before you start, put on safety goggles if you have them. This will help protect your eyes from any debris or sharp edges when measuring or handling the sink.
Step 2: Clear the Area
Remove any dishes, debris, or items from the sink and the surrounding countertop to get a clear workspace.
Step 3: Measure the Sink Cabinet
Measure the width, depth, and height of the sink cabinet. Record these measurements, as they will help you choose a sink that fits comfortably within the available space.
Typically, the width is the distance from left to right, the depth is from front to back, and the height is from the floor to the countertop surface.
Step 4: Measure the Existing Sink (if applicable)
If you’re replacing an existing sink, measure the width, depth, and height of the current sink. Note down these measurements. This information can be helpful if you want to find a sink of similar dimensions.
Step 5: Determine Sink Type
Decide whether you want a top-mount (drop-in) sink or an undermount sink. This choice will affect how you measure and install the sink.
If you’re switching from one type to another, you may need to make adjustments to the countertop or cabinet.
Step 6: Measure the Sink Opening
For top-mount sinks:

- Measure the width of the existing hole from left to right.
- Measure the depth from the front edge of the hole to the back wall.
- Measure the distance from the countertop to the top of the sink rim for the height.
- Take these measurements accurately as they will determine how the sink sits on the countertop.
For undermount sinks:

- Measure the width of the cabinet from left to right.
- Measure the depth from the front edge of the cabinet to the back wall.
- For the height, measure from the countertop to the bottom of the cabinet where the sink will be attached.
Step 7: Consider Faucet and Accessories
Factor in the location of your faucet and any accessories like soap dispensers, sprayers, or water filtration systems. Ensure there is enough space in the sink cabinet and countertop to accommodate these fixtures without interference.
Step 8: Note the Drain Location
Consider the location of the drain opening in the sink, especially if you’re replacing an existing sink. Ensure that the new sink’s drain matches up with your plumbing setup.
Step 9: Finalize Sink Selection
Now that you have all the measurements and additional considerations, you can confidently select a sink that will fit your space and needs.
How to Measure a Corner Sink?

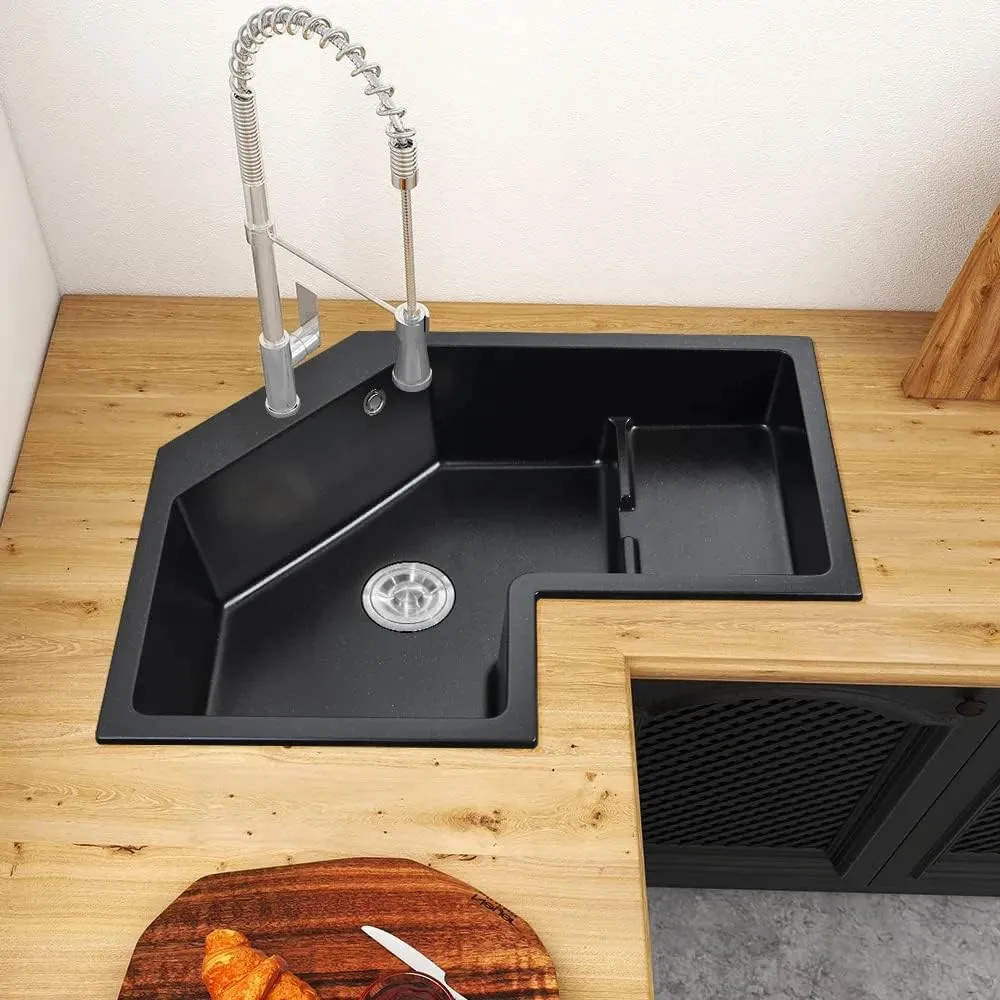
Corner sinks are often installed at an angle, so you need to take specific measurements to get the right fit. Here’s a step-by-step guide on how to measure a corner sink:
Tools and Materials You’ll Need:
- Tape measure
- Pen or pencil
- Paper or notepad
- Safety goggles (optional)
Step 1: Safety First
Before you start, put on safety goggles if you have them. This will help protect your eyes from any debris or sharp edges when measuring or handling the sink.
Step 2: Clear the Area
Remove any dishes, debris, or items from the sink and the surrounding countertop to get a clear workspace.
Step 3: Determine Sink Type
Decide on the type of corner sink you want. Corner sinks can be either double-basin sinks or single-basin sinks. You’ll need to measure differently for each type.
Step 4: Measure the Corner Cabinet
Measure the width, depth, and height of the corner cabinet where the sink will be installed. Record these measurements.
Typically, the width is the distance from left to right, the depth is from front to back, and the height is from the floor to the countertop surface.
Step 5: Measure the Corner Angle
Determine the angle of the corner where you plan to install the sink. You can do this by measuring the angle using an angle-measuring tool or by using a protractor.
Alternatively, you can use a cardboard template by cutting a piece of cardboard to fit into the corner and then measuring the angle of the cardboard.
Step 6: Measure for a Double-Basin Corner Sink
If you’re installing a double-basin corner sink, measure the width and depth of each basin separately. Ensure that you measure from the inside edges of the sink, as this will give you accurate dimensions.
Step 7: Measure for a Single-Basin Corner Sink
For a single-basin corner sink, measure the width and depth of the sink from the outer edges.
Step 8: Note Faucet and Accessories Placement
Consider the location of your faucet and any accessories like soap dispensers or sprayers. Ensure there is enough space in the corner cabinet and countertop to accommodate these fixtures without interference.
Step 9: Consider Drain Location
Factor in the location of the drain opening in the sink. Ensure that the new sink’s drain matches up with your plumbing setup.
Step 10: Finalize Sink Selection
With all the measurements and considerations in mind, select a corner sink that will fit your space and needs. Make sure the sink you choose is designed for corner installation and can accommodate your plumbing.
Note: Remember that corner sinks can be more challenging to install due to their unique shape and placement. If you have any doubts or concerns, consider consulting a professional or a kitchen designer for guidance. Proper measurements and careful planning will ensure a successful corner sink installation.
FAQs
What are the important measurements to consider when measuring a kitchen sink?
The important measurements to consider when measuring a kitchen sink are the length, width, depth, mounting style, and cutout size (for undermount sinks).
Is it necessary to double-check the measurements after I have taken them?
Yes, it’s recommended to double-check your measurements to ensure accuracy before making a purchase.
Do I need to consider any accessories when measuring a kitchen sink?
Yes, it’s important to consider any accessories you may want to include, such as a soap dispenser or cutting board, and make sure to factor these into your measurements.
Wrap Up
Measuring a kitchen sink is a straightforward yet essential task that ensures a seamless installation process and a perfect fit.
By following our simple guide, you can accurately measure your sink’s dimensions, taking into account width, length, and depth.
So, roll up your sleeves, grab a tape measure, and let’s get that sink installation underway!


